Cleaning that dirt
05/05/14 22:28
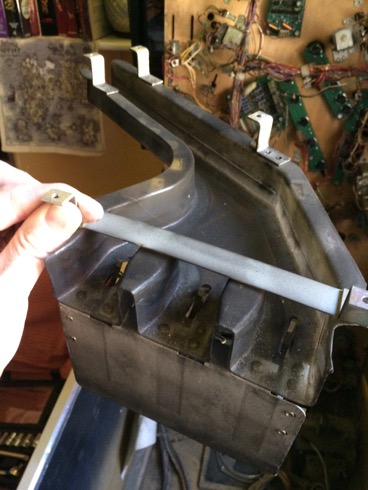
Over 20 years of grime but my trusty bottle of K9 seemed to do the trick. This is the inside ramp for the mini play field. I don’t know why I did not clean it when I dismounted the mini play field but its was black as coal.
Before:
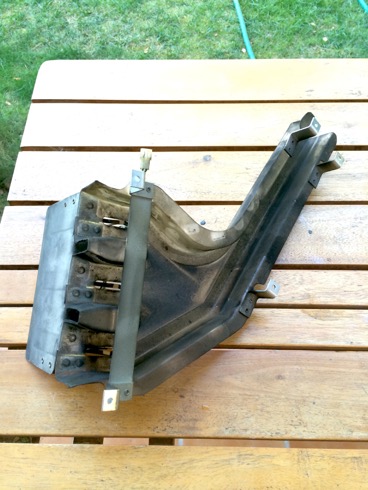
After:
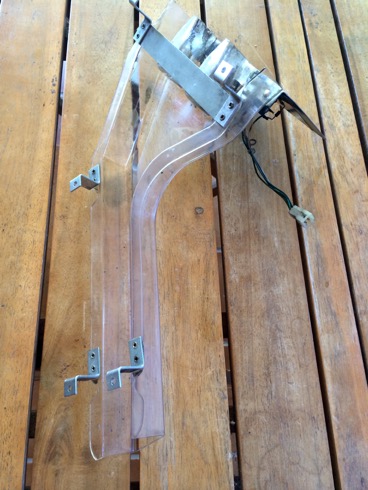
It's a part that is under the play field so it won’t be seen but at least its clean. Won’t dirty my balls. I’ve decided to start work again really cleaning the areas I missed the first time around. I’ve purchased some play field wax and scratch repairer. Hopefully should bring out the play field a little more. I really should dismantle the entire play field and clean it but I’m worried its too much work and won’t be able to put things back together. So I’m taking parts off slowly and then cleaning them. I always make sure I take photos to see where all the screws go.
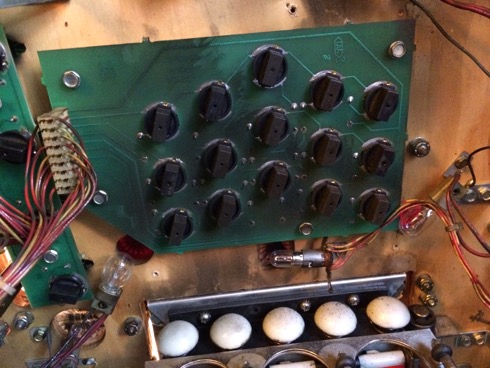
I found a few lamps that were bad. Seems its the actual board. So I’ll have to get out my soldering iron again and test the connections. I’ve also replaced a hole load more lamps that were blown. I ordered these red parts a while back but to my horror found the bolt does not fit. I think I might have to drill the hole to make it a little bigger. I double checked the part number in the manual and according to Marco’s website these are the same. hmmmm